Growing Greens Indoors
As we are all under stay at home orders, I thought I would share my method for growing indoors. Growing fresh greens and herbs keeps you from having to go to the store and it can add vitamins and minerals into your diet to keep your immune system healthy. It also just makes me super happy to see life spring forth when we are still getting snow outside.
I have a history of over watering and underwatering indoor plants and the dry air of Colorado doesn’t help. Creating self-watering systems has been a lifesaver (for my plants) and I enjoy having access to tasty fresh herbs and greens year-round.
This can be a great project to do with kids of all ages, you do not have the ability to grow outdoors, or if you would like to travel and not worry about your plants.
This design works by having a water reservoir with a piece of cotton rope or t-shirt that acts as a wick to bring the water up into the soil through capillary action. As the soil dries the water will travel up the rope and into the soil, keeping it at a consistent moisture level! Keeping house plants properly watered in a place like Colorado is really hard, so I use this method often (although the containers may differ).
Items needed:
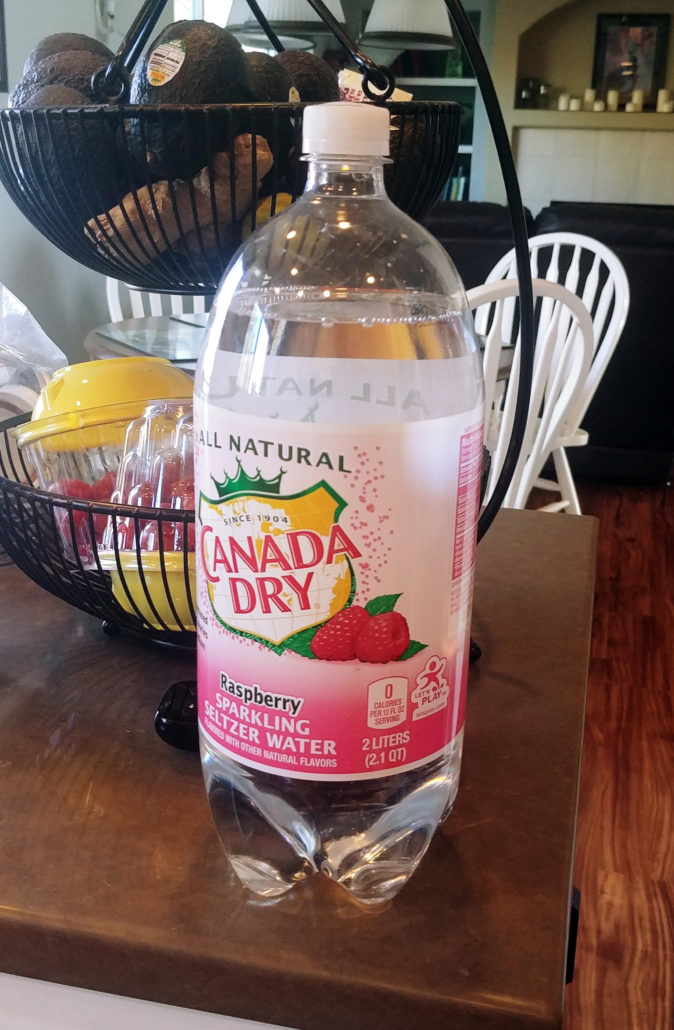
- 1 Ready to recycled plastic drink container
- 1 sharp knife or kitchen scissors
- 8-10 inches of cotton rope or 8” x 1”strip of a 100% cotton t-shirt
- Drill and ¼” drill bit
- Planting soil
- Seeds
Steps:
- Wash drink container and remove label (it just looks better afterwards)
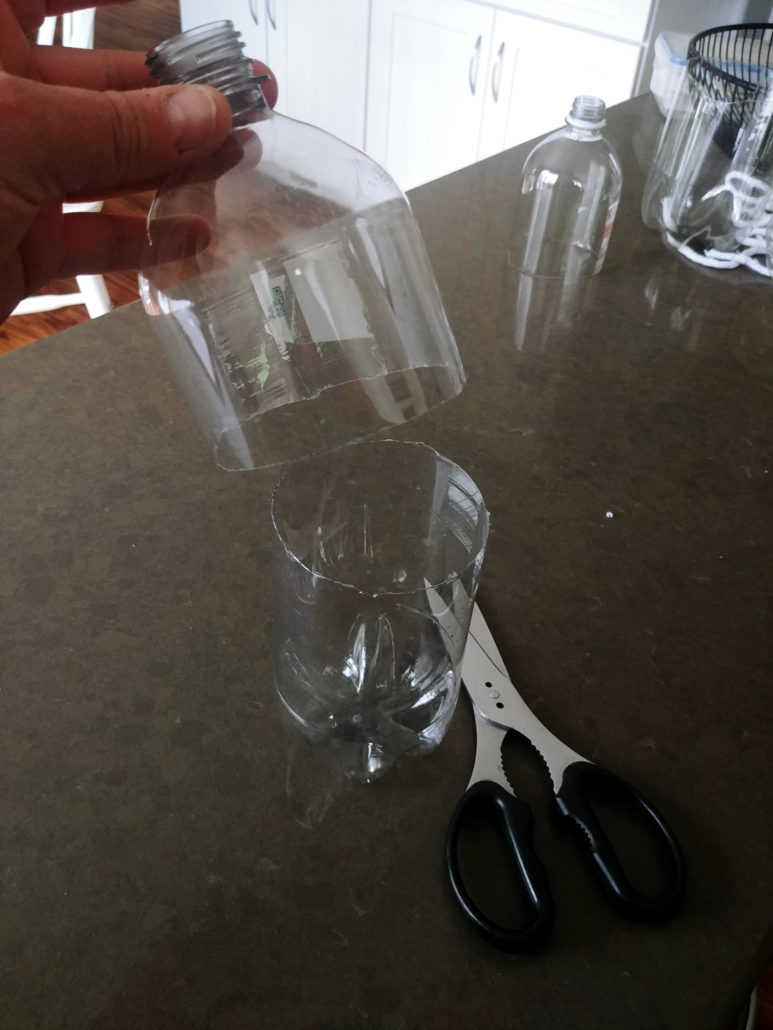
2. Use a pair of scissors or a sharp knife to cut bottle in half. This can be accomplished with regular scissors, it is just a bit more difficult.
3. Remove the cap of the bottle and use a hand drill with a ¼” drill bit to make a hole in the center of the cap. You can use a pair of pliers to hold the cap still if necessary. Make sure to have a piece of wood or other suitable material under the cap to drill into so you don’t damage your drill bit or counter.
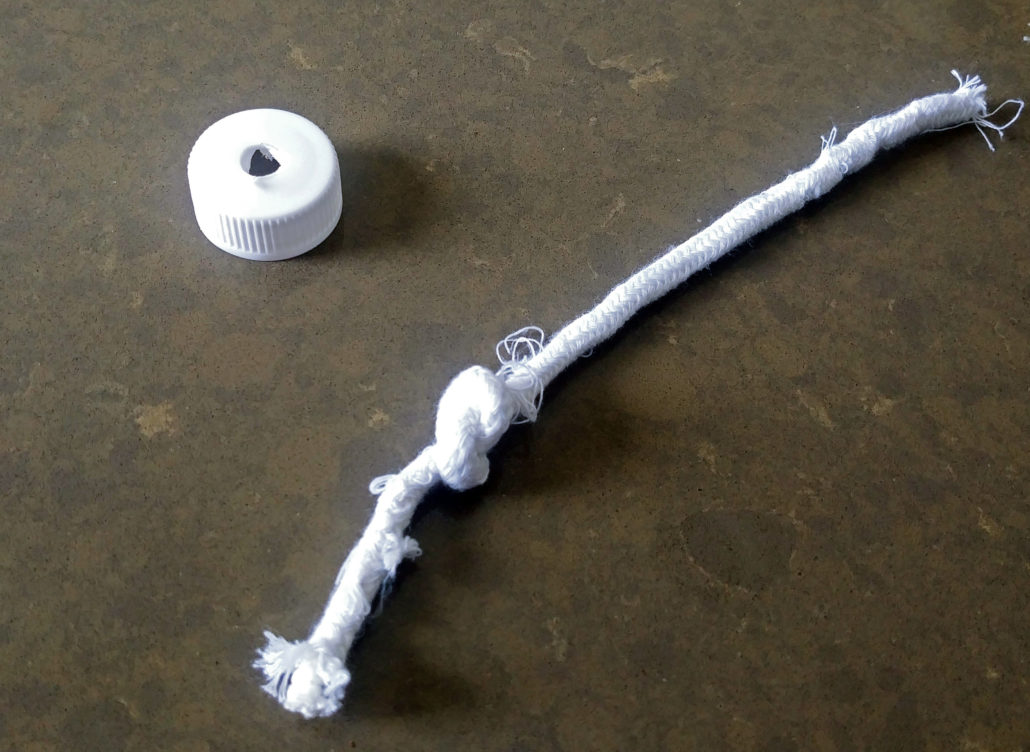
4. Tie a knot in the cotton rope (or strip of t shirt) about 3” from one end. The knot should not be pulled tight, it just needs to be snug enough to not come undone.
5. Thread the rope through the cap so that the short end is on the “inside” part of the cap.
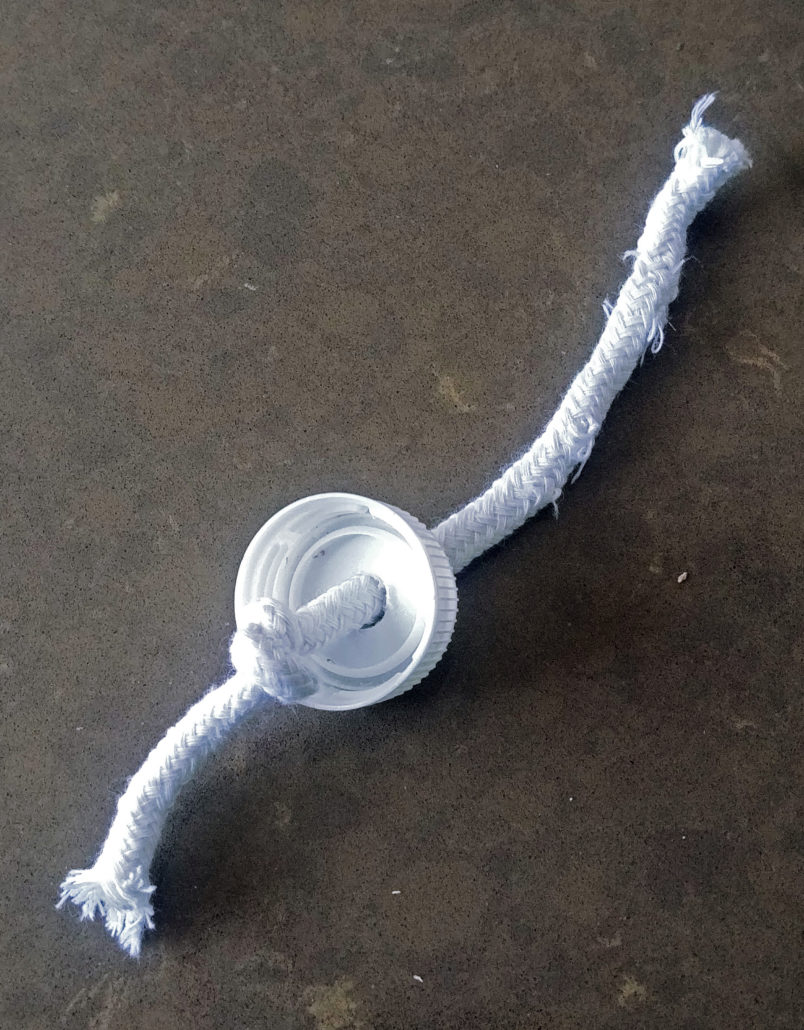
6. Screw cap back onto the bottle and place the top portion of the bottle upside down and inside the bottom half of the bottle.
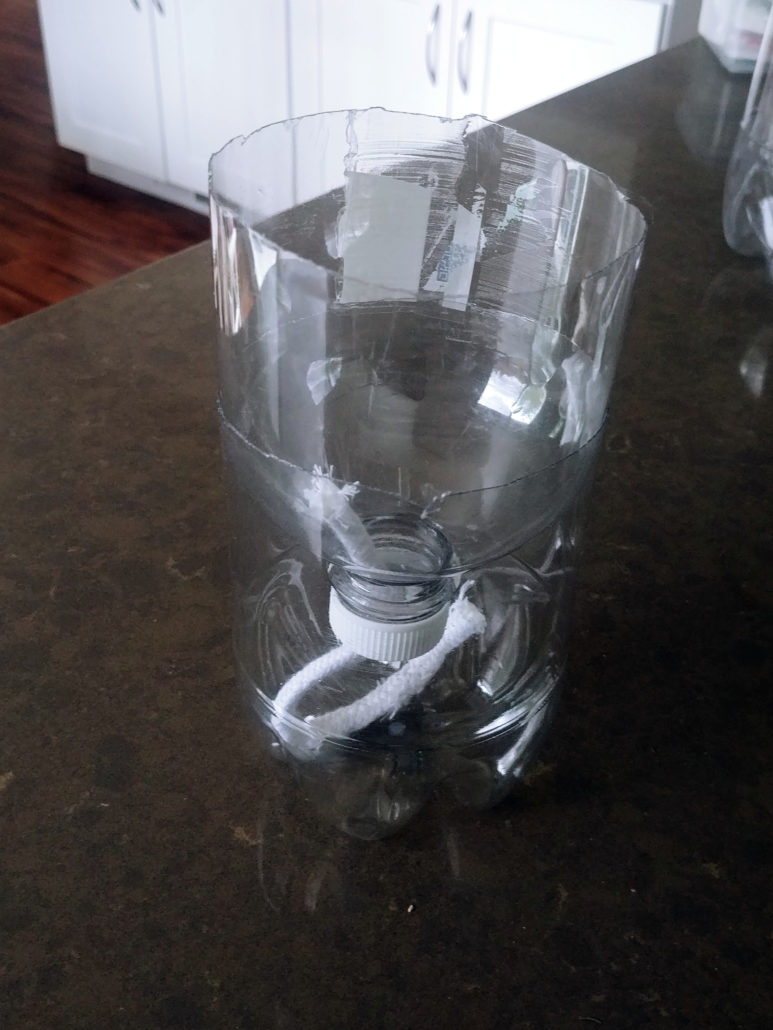
7. Fill top section of the bottle with soil until it is about an inch from the top. The cotton rope should be sticking up into the dirt and not crushed down. To accomplish this, gently add the first couple scoops of soil.
8. Once soil is in place moisten the soil with water. Excess water will drain into the lower portion (the water reservoir). Add more water if necessary, to the reservoir, making sure it doesn’t touch the cap and that the rope is tucked into the water.
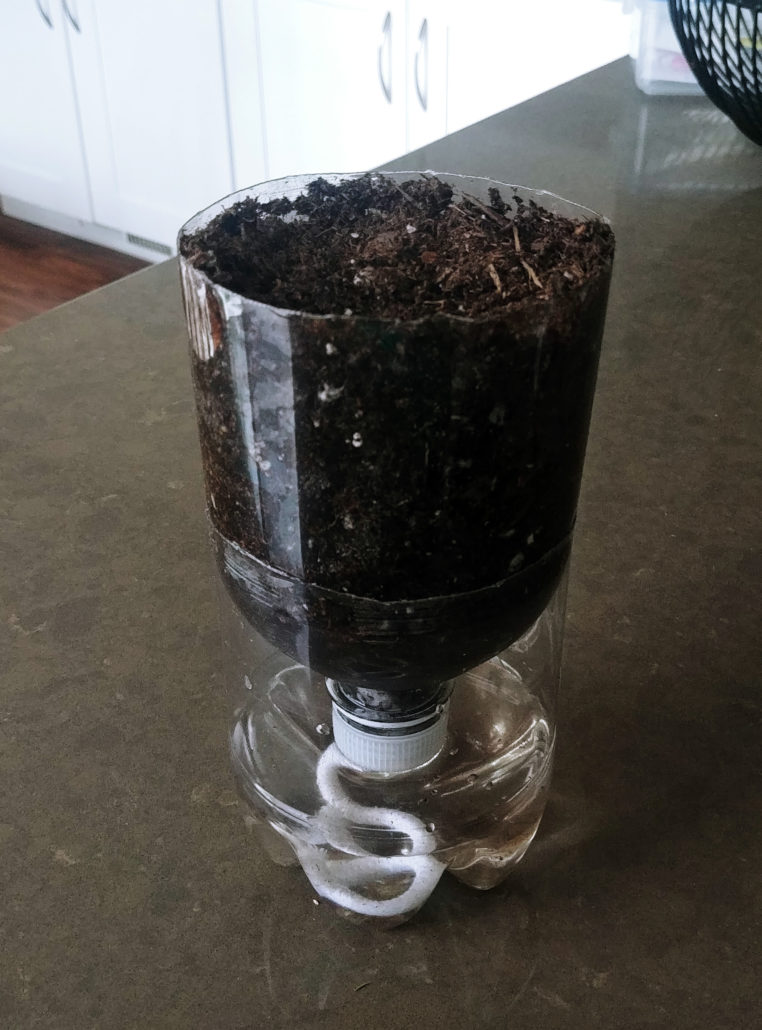
9. Plant 3-4 seeds at the depth directed on the seed package. Once planted, place your little garden on a sunny windowsill or suitable sunny spot.
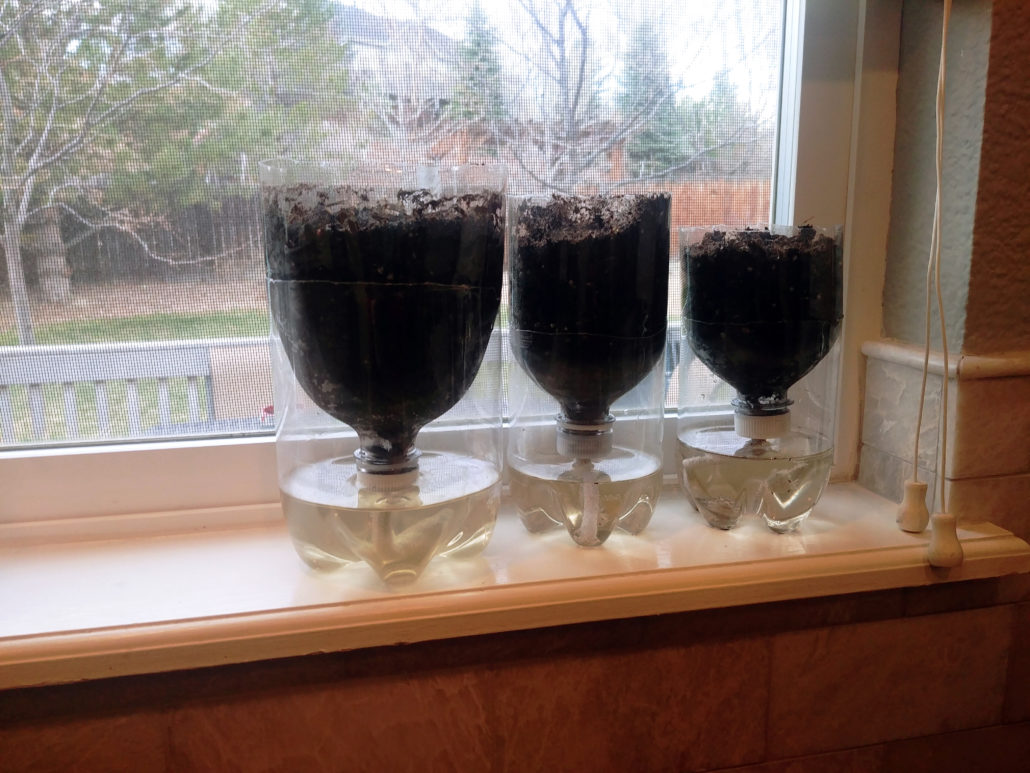
10. In a few days you should see your babies sprouting and starting to grow.
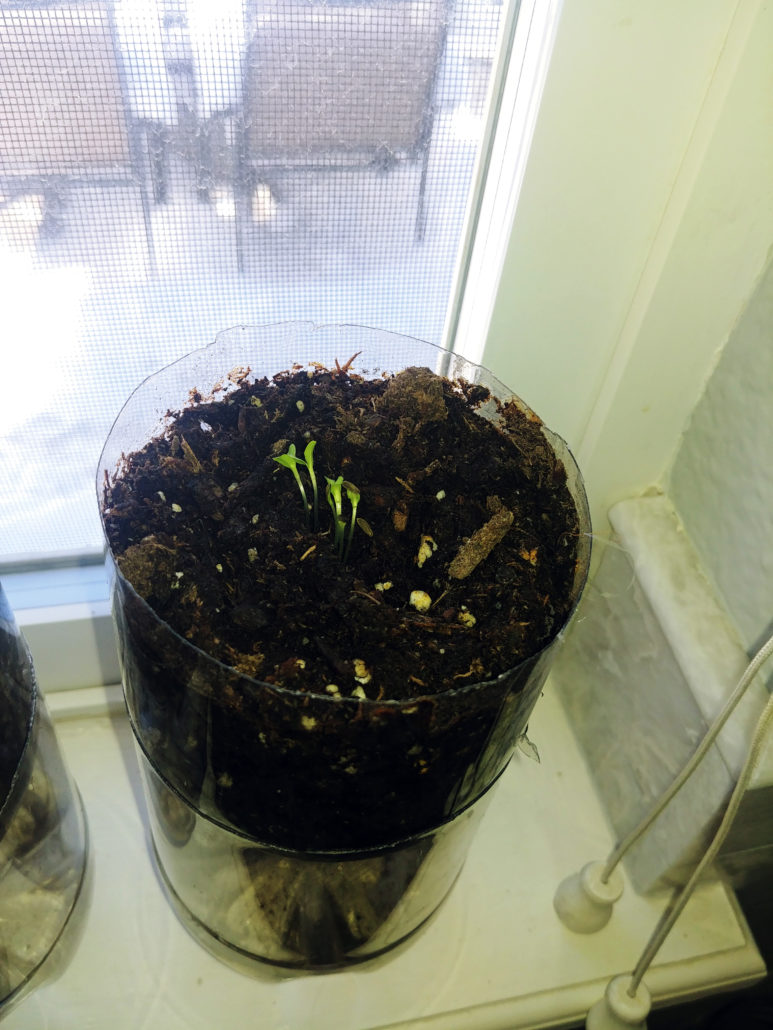
10. Once the plants are about 3 inches tall, remove the weaker plants, leaving 2 to grow.
11. To maintain the plant, just keep the water reservoir filled with water. (Usually every 3-4 days).


Comments are closed.